
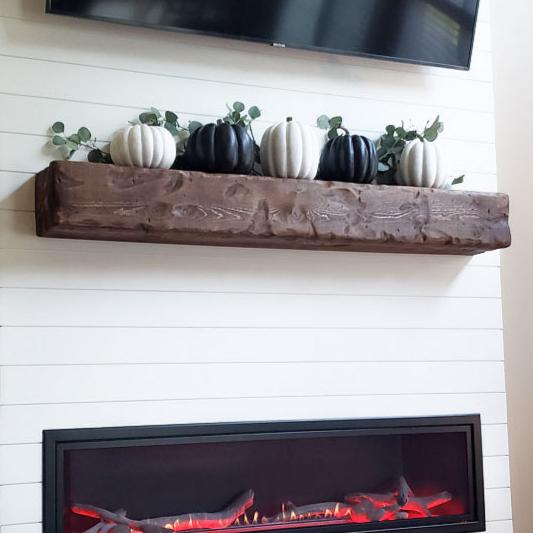
Floating Mantel Installation Instructions
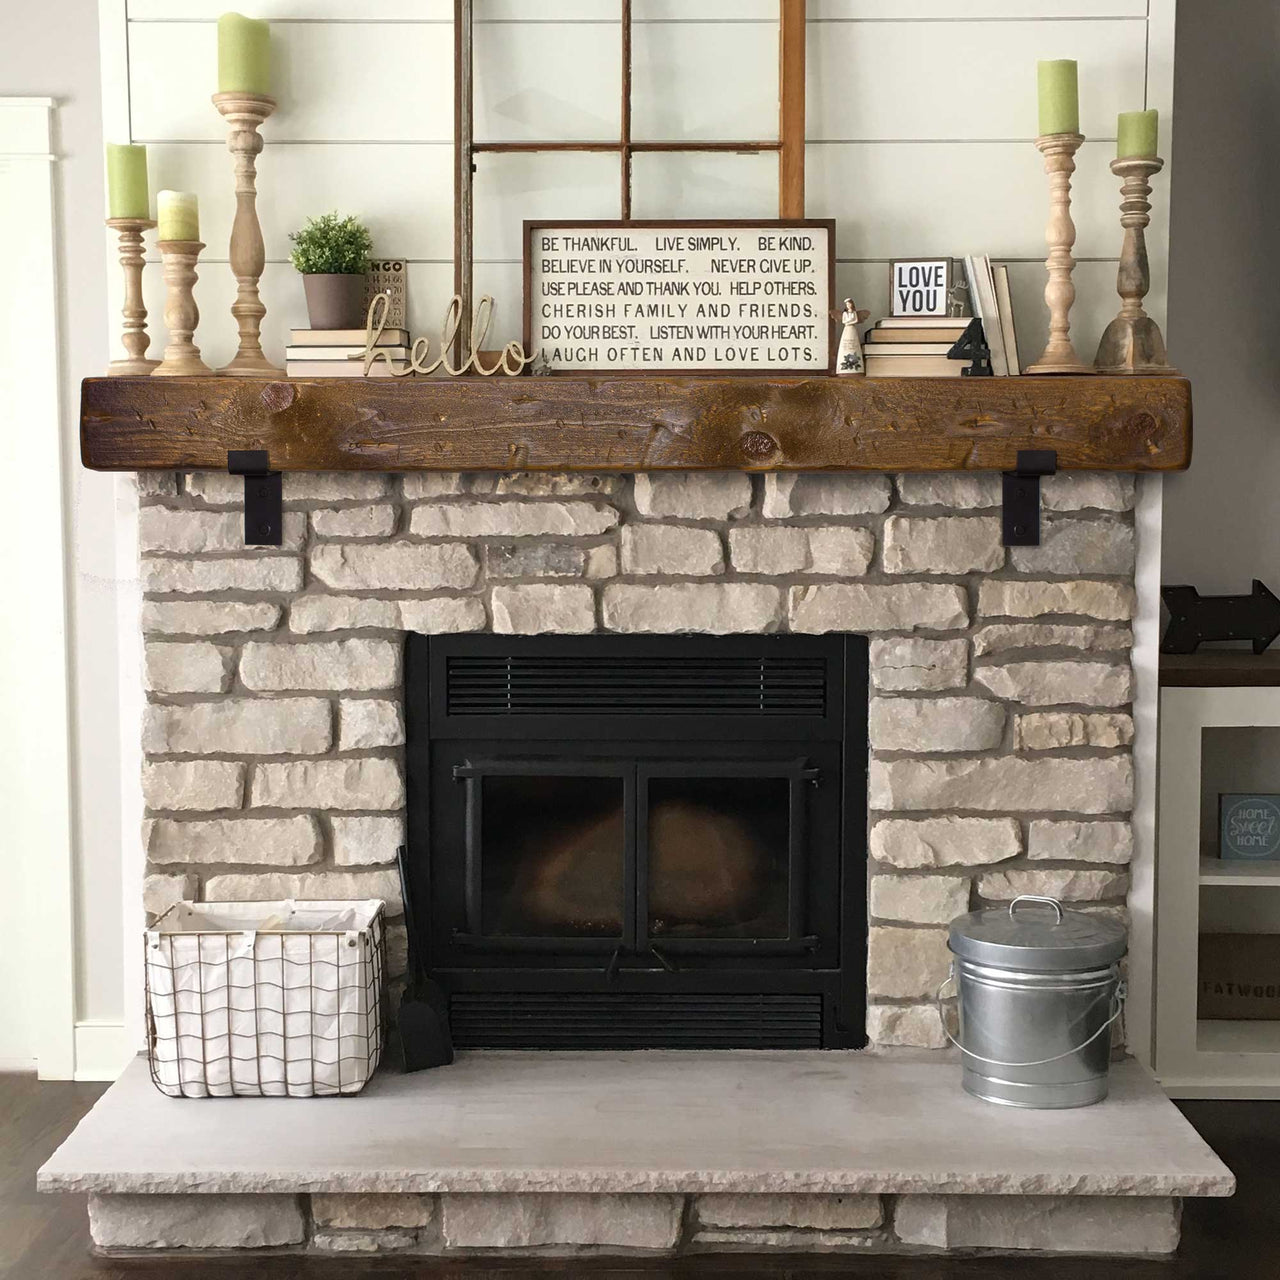
Mantel with Metal Brackets Installation Instructions

Slip Cover Mantel Installation Instructions

3" Floating Shelf Installation Instructions

1-3/4" Floating Shelf Installation Instructions
Click here to view standard instructions PDF
Click here to view heavy duty instructions PDF

LED Setup Instructions
Click here to view LED Remote Programming Instructions
LED Remote Programming Instructions
To add a WiZmote in a home, start by making sure you have installed at least one light, dimmer switch or smart plug in the app, and that this device is currently powered on and connected. WiZ accessories are detected by the nearby devices, which is why at least one device needs to be present and online.
1. On the home screen of the app, tap the + button in the top right corner
2. Among the list of products, select WiZmote.
3. Choose the room in which you want to install your remote. Make sure that room has at least one connected device. If you want your remote to control lights across multiple rooms, this can be set up at a later stage
4. Hit the start button
5. On the remote press the ON button a few times, until the app confirms the remote has been added.